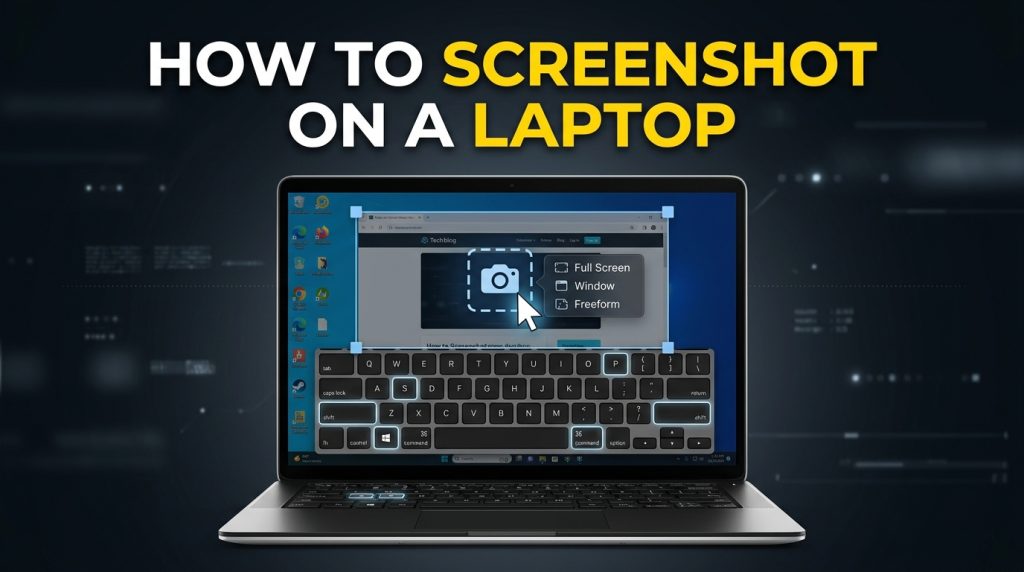
How to Screenshot on a Laptop: Easy Methods for Windows and Mac
Knowing how to screenshot on a laptop is a useful skill for work, school, troubleshooting, and everyday tasks. A screenshot lets you capture exactly what is displayed on your screen and save it as an image. You can use screenshots to share an error message, save important information, create tutorials, or capture something interesting online.
The good news is that taking a screenshot on a laptop is usually very easy. Windows and Mac laptops offer several built-in methods, and you can choose the one that works best for your needs.
In this guide, we’ll explain how to screenshot on a laptop using keyboard shortcuts, built-in screenshot tools, and other simple methods.
How to Screenshot on a Windows Laptop
Windows laptops offer several ways to capture your screen. You can capture the entire screen, a specific window, or just a selected area.
1. Use the Print Screen Key
One of the easiest ways to take a screenshot on a Windows laptop is with the Print Screen key.
Depending on your laptop, the key may be labeled:
- PrtSc
- PrtScn
- Print Screen
- PrtSc SysRq
Press the PrtSc key to capture the entire screen.
The screenshot may be copied to your clipboard instead of being automatically saved as a file. You can then open an image editor such as Paint and press Ctrl + V to paste the screenshot.
From there, you can save the image in a format such as PNG or JPEG.
2. Windows + Print Screen
If you want Windows to automatically save a screenshot, use:
Windows key + PrtSc
Press both keys at the same time.
Your screen may briefly dim to indicate that the screenshot was taken. On many Windows laptops, the image is automatically saved in:
Pictures > Screenshots
This method is convenient because you don’t need to paste the screenshot into another program before saving it.
3. Use Windows + Shift + S
The Windows + Shift + S shortcut is one of the most useful screenshot methods in Windows.
Press:
Windows + Shift + S
Your screen will become slightly dim, and a screenshot toolbar will appear.
Depending on your Windows version, you can choose from several capture options, including:
- Rectangular snip
- Freeform snip
- Window snip
- Full-screen snip
For example, with a rectangular snip, you can click and drag your mouse around the exact area you want to capture.
The screenshot is usually copied to your clipboard. You can paste it into an application or use the notification that appears to open it in the screenshot tool for editing and saving.
4. Use the Snipping Tool
Windows includes a built-in application called Snipping Tool that makes taking and editing screenshots easy.
To use it:
- Open the Windows Start menu.
- Search for Snipping Tool.
- Open the application.
- Choose the type of screenshot you want.
- Select the area you want to capture.
- Edit the screenshot if needed.
- Save the image.
The Snipping Tool is especially useful when you don’t want to memorize keyboard shortcuts.
You can also use the tool to delay a screenshot. This can be helpful when you need to open a menu or perform an action before capturing the screen.
5. Screenshot a Specific Window
Sometimes you don’t want to capture your entire laptop screen. You may only want to capture one application or browser window.
On many Windows laptops, you can use:
Alt + PrtSc
This captures the currently active window rather than the entire desktop.
After pressing the shortcut, open Paint or another image application and press Ctrl + V to paste the screenshot.
This is useful when you want to share an application window without showing everything else on your desktop.
How to Screenshot on a Mac Laptop
Mac laptops, including MacBook Air and MacBook Pro models, also have several built-in screenshot options.
1. Capture the Entire Screen
To capture the entire Mac screen, press:
Command + Shift + 3
Your Mac will capture the full screen.
Depending on your macOS settings, the screenshot is generally saved as an image file on the desktop or in the location configured for screenshots.
This method is useful when you want to capture everything currently visible on your MacBook display.
2. Capture a Selected Area
If you only need part of your screen, use:
Command + Shift + 4
Your pointer will change into a selection tool.
Click and drag over the area you want to capture. When you release the mouse or trackpad button, your Mac will take a screenshot of the selected area.
This is one of the quickest ways to capture a specific section of a webpage, document, image, or application.
3. Use the Screenshot Toolbar
Modern versions of macOS include a screenshot toolbar with several useful options.
Press:
Command + Shift + 5
A toolbar will appear at the bottom of your screen.
You can use it to:
- Capture the entire screen
- Capture a selected window
- Capture a selected portion
- Record the entire screen
- Record a selected portion
- Choose where screenshots are saved
- Set a timer
This method is particularly useful if you prefer clicking options instead of remembering several keyboard shortcuts.
4. Capture a Specific Window on Mac
To capture a particular application window, press:
Command + Shift + 4
Then press the Spacebar.
Your pointer will change into a camera icon. Move the camera over the window you want to capture and click.
Your Mac will capture that window as a screenshot.
This is useful when you want a clean screenshot of a single application without manually selecting its borders.
Where Are Screenshots Saved on a Laptop?
The location of your screenshot depends on your operating system and settings.
Windows
Screenshots taken with Windows + PrtSc are commonly saved under:
Pictures > Screenshots
Screenshots taken with some other methods may be copied to the clipboard instead.
If you use the Snipping Tool, you can choose where to save the captured image.
Mac
On many Mac computers, screenshots are saved directly to the desktop by default.
However, macOS allows you to change the screenshot save location using the screenshot toolbar.
Press Command + Shift + 5, select Options, and choose your preferred destination.
How to Screenshot Part of a Webpage
If you only want to capture a small section of a webpage, you don’t need to capture the entire screen.
On Windows, use:
Windows + Shift + S
Then select the area you want.
On Mac, use:
Command + Shift + 4
Then drag your cursor around the area you want to capture.
This is useful for saving:
- Product information
- Instructions
- Charts
- Images
- Online receipts
- Important messages
- Specific sections of articles
Always make sure you have permission to share sensitive or copyrighted content when necessary.
How to Take a Screenshot Without a Print Screen Key
Some compact laptops don’t have a dedicated Print Screen key. In this situation, you can use Windows’ built-in screenshot tools.
The easiest option is:
Windows + Shift + S
This opens the screen capture interface and lets you select the area you want.
You can also search for Snipping Tool from the Windows Start menu.
If your laptop keyboard has a function layer, you may also need to use the Fn key with another keyboard shortcut. The exact combination depends on your laptop model.
How to Screenshot on a Laptop Using an External Keyboard
If you’re using an external keyboard with your laptop, the screenshot shortcut may depend on the keyboard layout.
For Windows, you can generally use:
Windows + PrtSc
or
Windows + Shift + S
For Mac, the standard shortcuts remain:
Command + Shift + 3
or
Command + Shift + 4
The important thing is to identify which operating system your laptop is running.
How to Edit a Screenshot
After taking a screenshot, you may want to highlight something or remove unnecessary information.
Windows users can edit screenshots using the Snipping Tool, Paint, or another image editor.
You can:
- Crop the image
- Add text
- Draw arrows
- Highlight information
- Blur certain areas
- Resize the image
Mac users can open screenshots using built-in image tools and use available editing features to crop, mark up, or make other changes.
Editing is particularly useful when creating tutorials or explaining a technical problem.
How to Copy a Screenshot Without Saving It
Sometimes you don’t need to save a screenshot as a file. You may simply want to paste it into an email, document, chat, or presentation.
On Windows, use a screenshot method that copies the image to the clipboard, then press:
Ctrl + V
For example, you can take a selected screenshot using Windows + Shift + S and paste it directly into a compatible application.
This can save time because you don’t need to create and locate an image file.
How to Screenshot on a Laptop for Troubleshooting
Screenshots are extremely useful when you’re experiencing a technical problem.
For example, if an application displays an error message, you can take a screenshot and send it to technical support.
A good troubleshooting screenshot should include:
- The error message
- The application name
- Relevant buttons or settings
- Enough surrounding information to explain the problem
Avoid including passwords, payment information, private messages, or other sensitive data.
Common Screenshot Problems and Solutions
Screenshot Shortcut Isn’t Working
If a keyboard shortcut doesn’t work, try another built-in method.
On Windows, open the Snipping Tool from the Start menu.
On Mac, try Command + Shift + 5.
Screenshot Isn’t Being Saved
Check whether the screenshot was copied to your clipboard instead of being saved as a file.
On Windows, open Paint and press Ctrl + V. You can then save the image manually.
On Mac, check your desktop or the screenshot destination selected in the screenshot options.
Print Screen Key Doesn’t Work
Some laptops require the Fn key when using certain keyboard functions.
You can also avoid the Print Screen key entirely by using Windows + Shift + S on Windows.
Frequently Asked Questions
What is the easiest way to screenshot on a laptop?
On Windows, Windows + Shift + S is one of the easiest options because it lets you select exactly what you want to capture.
On Mac, Command + Shift + 4 is a quick way to capture a selected area.
How do I screenshot the entire laptop screen?
On Windows, you can use Windows + PrtSc to capture and save the full screen.
On Mac, press Command + Shift + 3.
Where do screenshots go on Windows?
Screenshots taken with Windows + PrtSc are commonly saved in Pictures > Screenshots. Other screenshot methods may copy the image to your clipboard instead.
How do I screenshot on a MacBook?
Use Command + Shift + 3 for the entire screen, Command + Shift + 4 for a selected area, or Command + Shift + 5 to open the screenshot toolbar.
Can I screenshot only one window?
Yes. Windows and macOS both provide ways to capture an individual application window without capturing the entire desktop.
Final Thoughts
Learning how to screenshot on a laptop can save you time and make it easier to share information. Whether you use a Windows laptop or a MacBook, you have several built-in options for capturing your screen.
Windows users can rely on Print Screen, Windows + Shift + S, and the Snipping Tool, while Mac users can use shortcuts such as Command + Shift + 3, Command + Shift + 4, and Command + Shift + 5.
Once you learn these shortcuts, taking screenshots becomes a quick and convenient part of using your laptop for work, school, troubleshooting, and everyday tasks.